Develop and deploy your first Dagster pipeline
Welcome to Dagster+ Serverless! In this guide, we'll cover developing and testing your Dagster project locally, using branch deployments to safely test against production data, and finally, pushing your changes to production.
To get started with Dagster+ Hybrid or Dagster OSS, see the Dagster+ Hybrid and OSS quickstart guide instead.
Prerequisites
To follow the steps in this guide, you will need to:
- Sign up for a Dagster+ Serverless account and create a Dagster project
- Clone your Dagster project to your local machine
- Ensure you have Python 3.10+ installed
Step 1: Install uv (Recommended)
If you will be using pip, skip to step 2.
If you will be using uv as your package manager, follow the steps below to install the Python package manager uv:
- Mac
- Windows
- Linux
curl -LsSf https://astral.sh/uv/install.sh | sh
powershell -ExecutionPolicy ByPass -c 'irm https://astral.sh/uv/install.ps1 | iex'
curl -LsSf https://astral.sh/uv/install.sh | sh
Step 2: Install project dependencies
- uv
- pip
-
Change to the directory of your cloned project:
cd <project-directory> -
Install required dependencies in the virtual environment:
uv sync -
Activate the virtual environment:
- MacOS/Unix
- Windows
source .venv/bin/activate.venv\Scripts\activate
-
Change to the directory of your cloned project:
cd <project-directory> -
Create and activate a virtual environment:
- MacOS/Unix
- Windows
python -m venv .venvsource .venv/bin/activatepython -m venv .venv.venv\Scripts\activate -
Install your project as an editable package:
pip install --editable . --group devnoteThe
--groupargument is only available in pip versions 25.1 and higher. If you have an older version of pip, you can upgrade it withpip install --upgrade pipor omit the--group devflag.
Step 3: Run your pipeline
-
In the terminal, navigate to your project's root directory and run:
dg dev -
Open your web browser and navigate to http://localhost:3000, where you should see the Dagster UI:
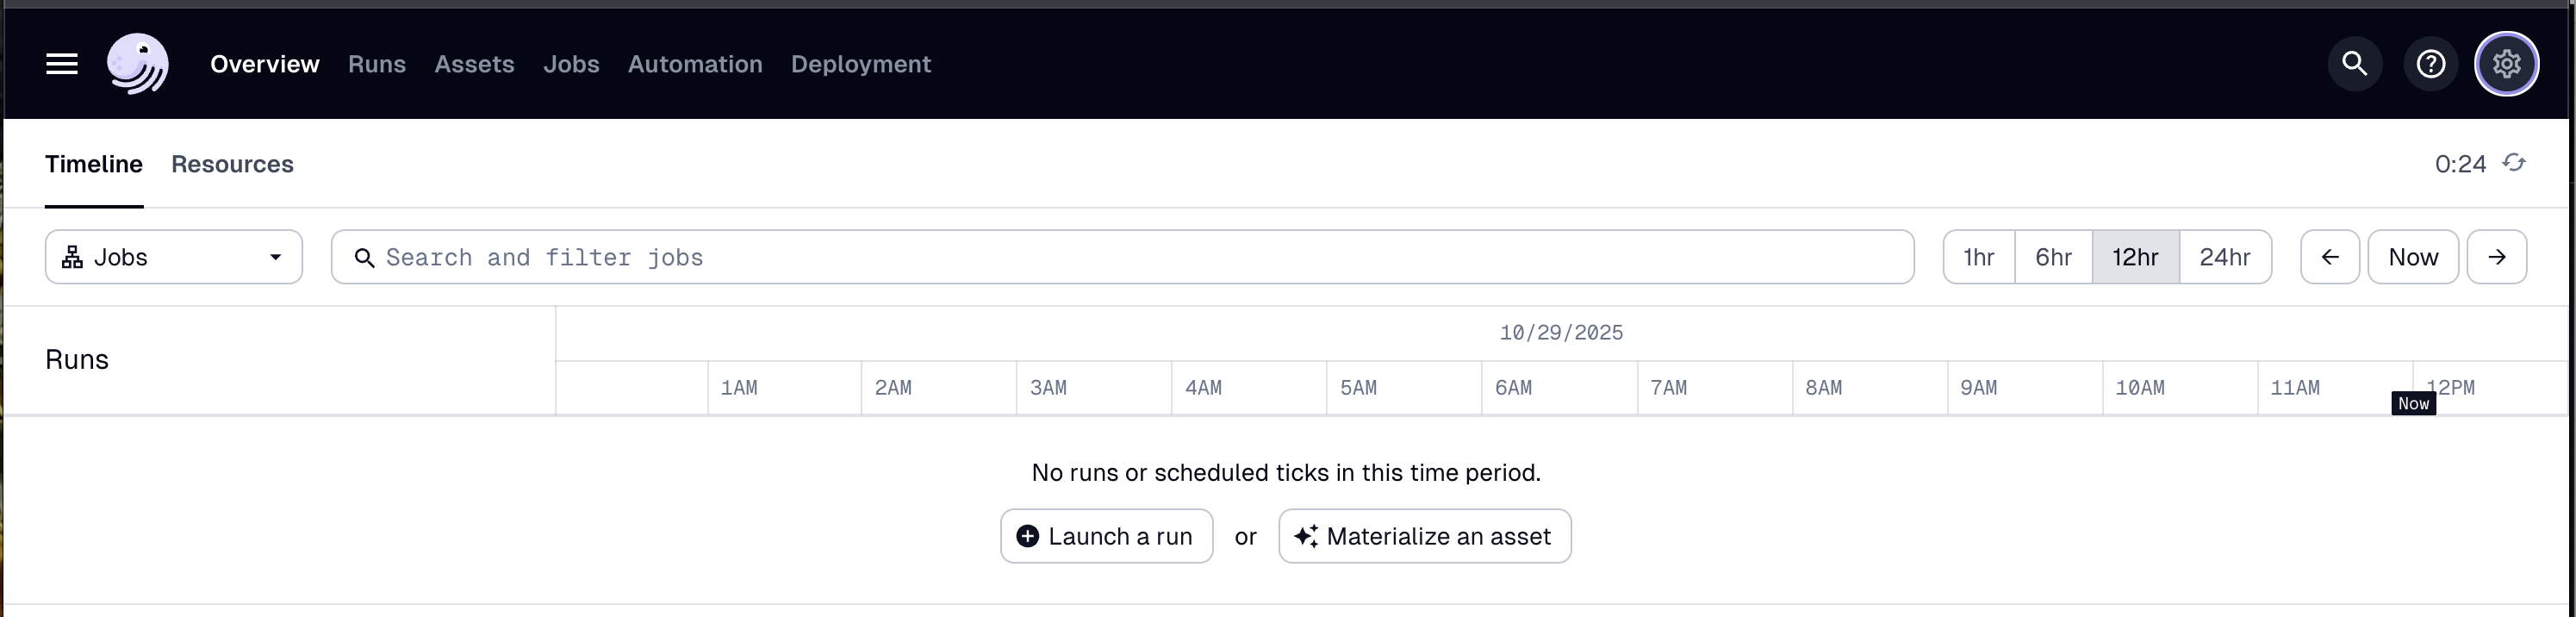
-
In the top navigation, click the Assets tab, then click View lineage:
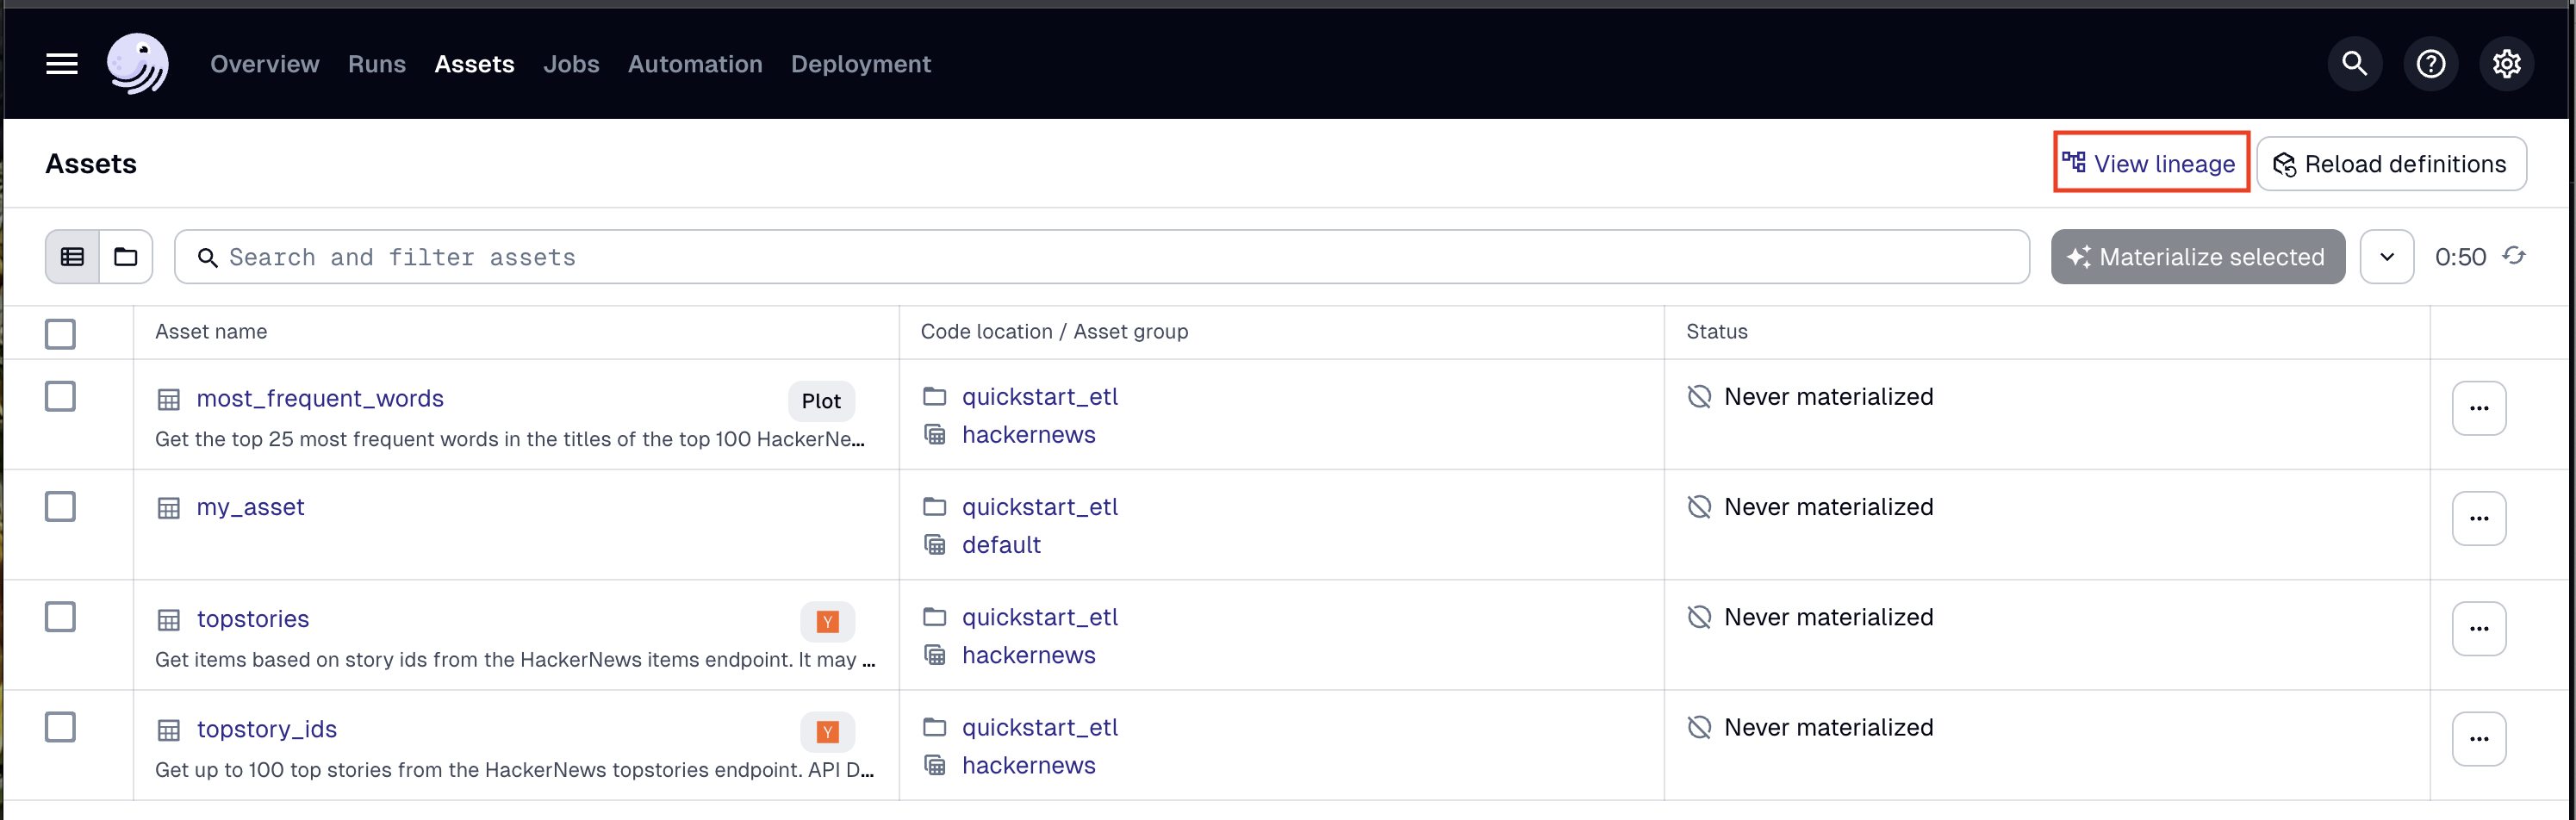
-
To run the pipeline, click Materialize all:
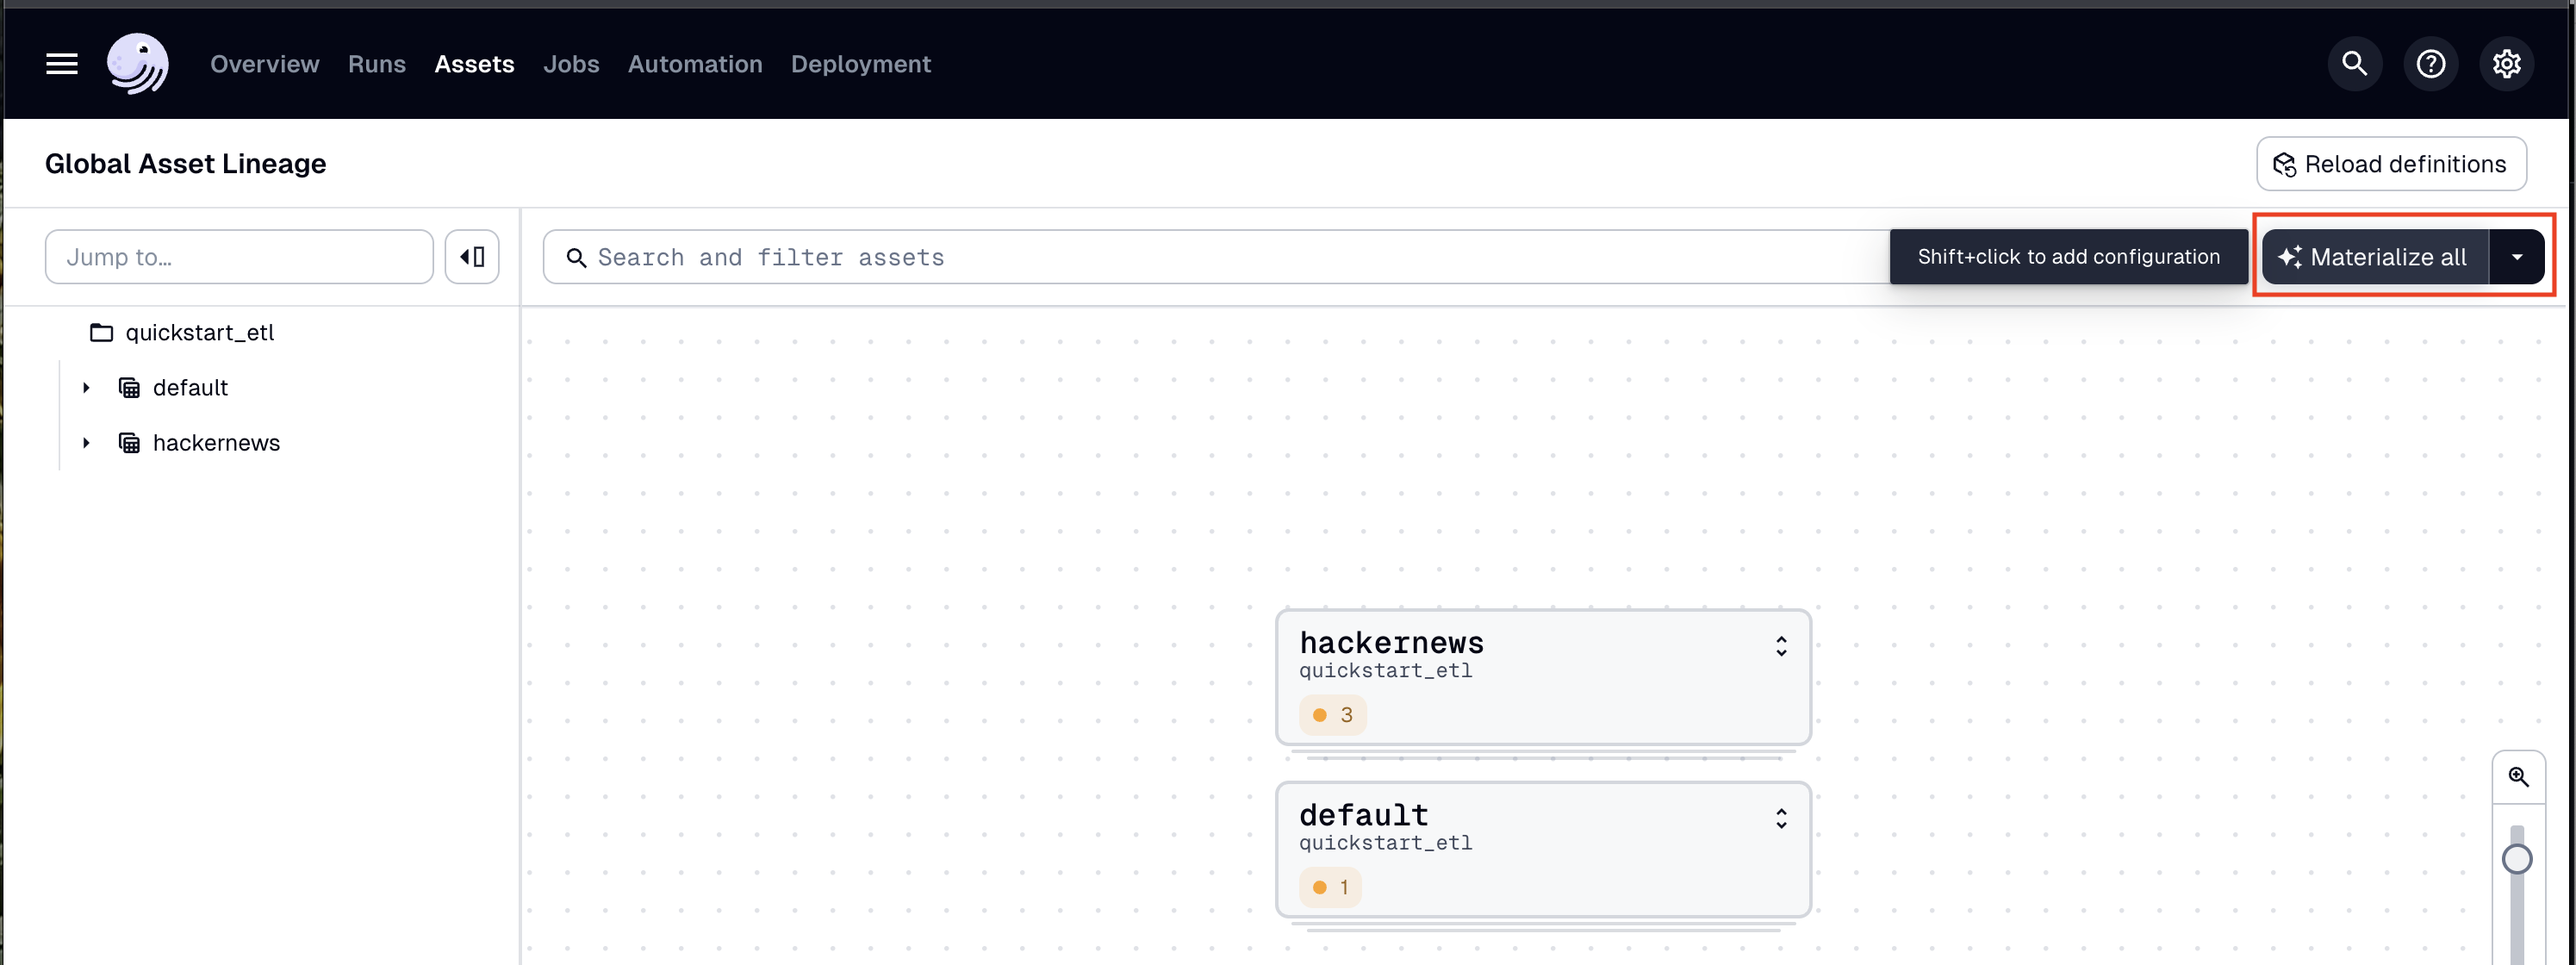
-
To view the run as it executes, click the Runs tab, then on the right side of the page, click View:
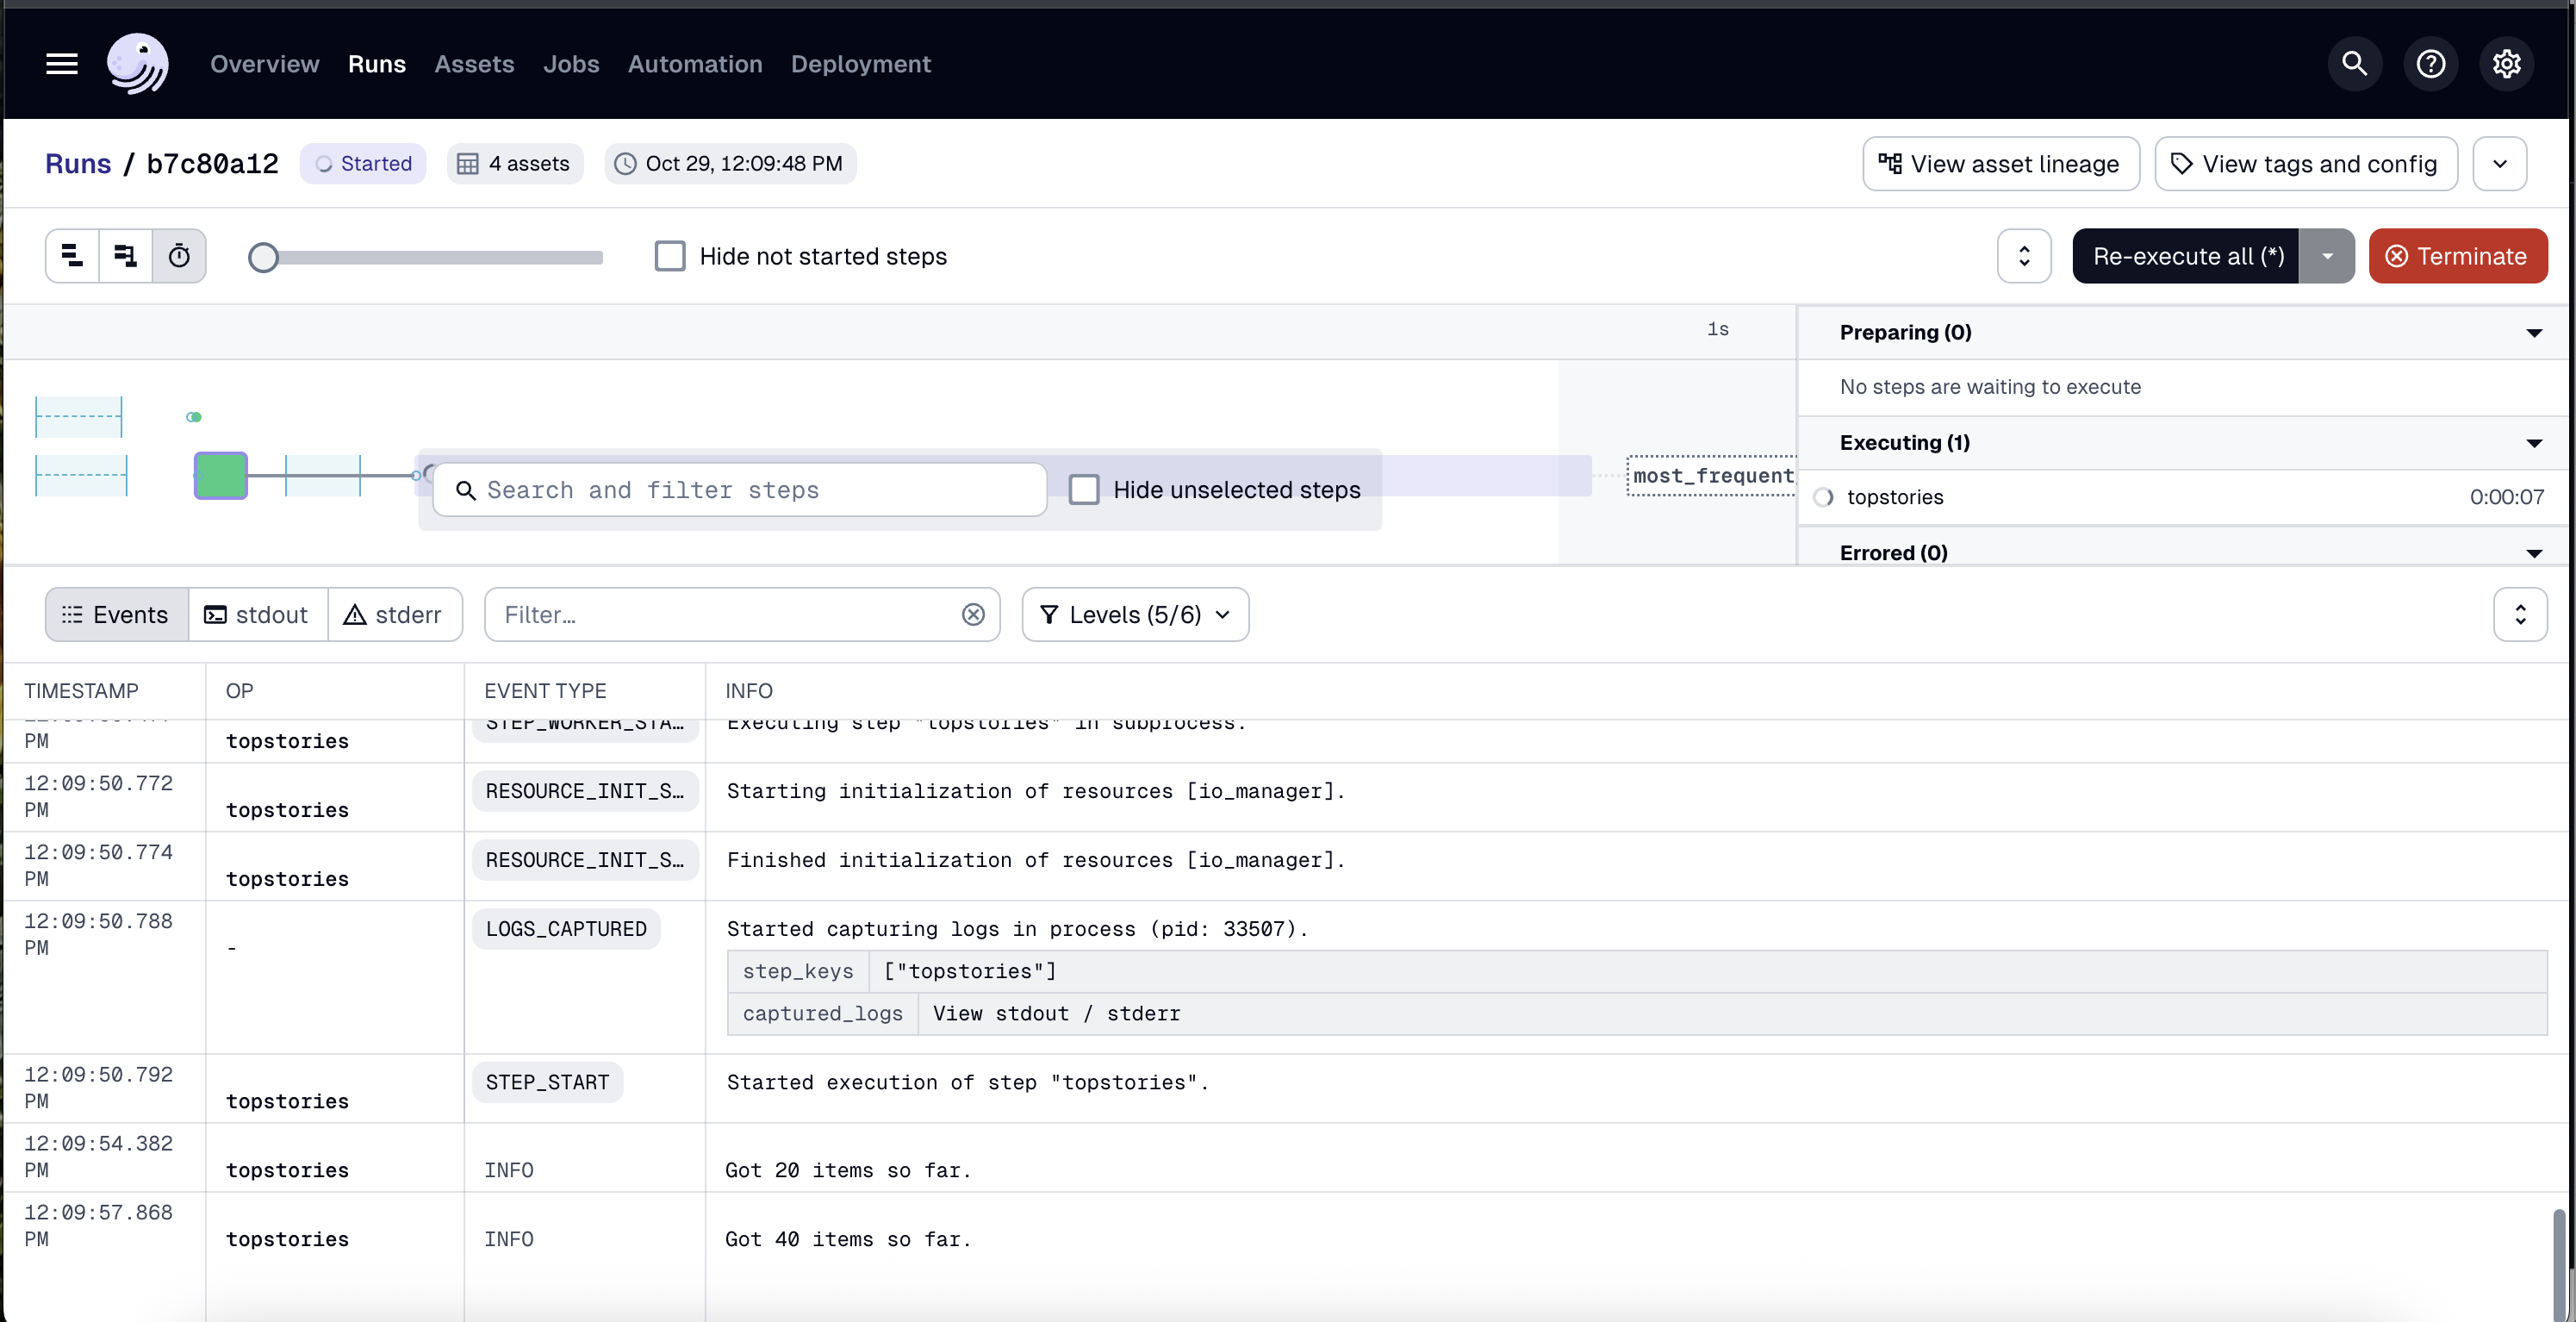
To change how the run is displayed, you can use the view buttons in the top left corner of the page:

You can also run the pipeline by using the dg launch --assets command and passing an asset selection:
dg launch --assets "*"
Step 4: Develop and test your pipeline
To develop your pipeline, you can:
- Update and create assets
- Automate your pipeline
- Add integrations
To test your pipeline, you can:
- Run
dg check defsto check Dagster definitions - Run
dg devto start the local webserver and run your pipeline in the UI - Add asset checks
- Debug assets during execution with
pdb
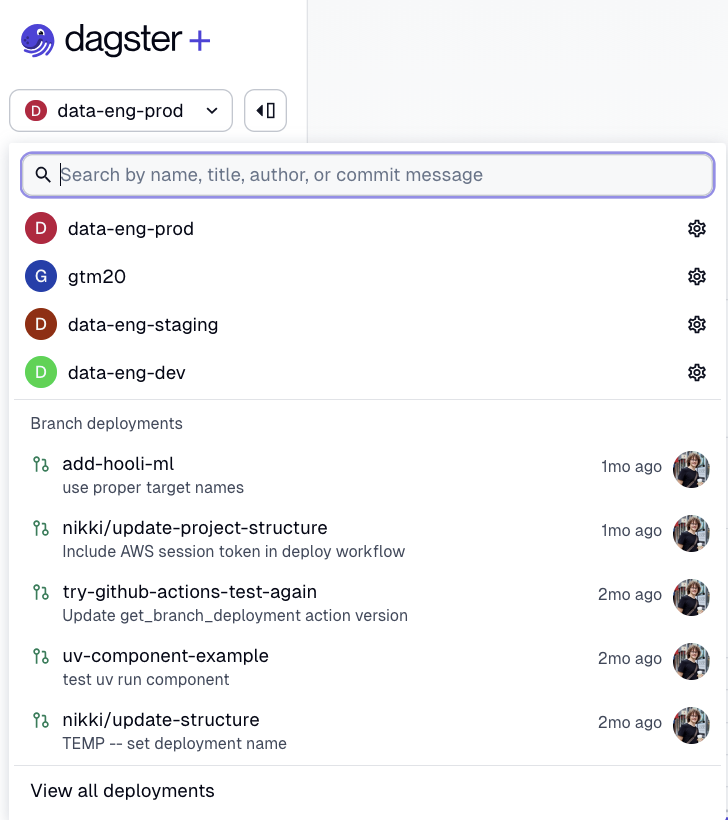
Step 5: Deploy to staging with branch deployments
To see how your changes will look in production without altering production data, you can use branch deployments. To get started, make your changes in a Git branch and create a pull request, then select your branch from the deployment dropdown in the Dagster+ Serverless UI:
Step 6: Deploy to production
Once you are satisfied with your changes, you can merge your branch into main and the changes will be deployed to your production Serverless deployment.
Next steps
Congratulations! You've just built and run your first pipeline with Dagster. Next, you can:
- Follow the Dagster Basics Tutorial to learn how to build a more complex ETL pipeline.
- Create your own Dagster project and add assets to it.
- Check out our Python primer series for an in-depth tour of Python modules, packages and imports.